People will watch TV in numerous places, whether in the living room, bedroom, kitchen, or break room. The use of the TV comes with a focus on image quality, and many of us want to have the best picture possible. For ways to improve the quality of your screen, read on for methods you should try to clear up that visual and enjoy your entertainment.
How Does Video Work on a TV?
Every television has a transmitter that is either analog or digital. An analog or digital transmitter will take either signal type and transmit it into electrons that project onto the back of the TV screen. The beams of electrons form pixels that will form the picture and images we see on the screen.
As an object moves on the screen, the transmitter changes the location of the electrons rapidly to make the image move, creating a moving picture that we call video. Most modern TVs will use digital signals for a higher picture quality and better sound in the same signal.
Ways To Improve TV Image Quality
The image quality of your TV is an important part of your entertainment experience. You’ll want the best picture for viewing images on the screen and help you view more detail that you may miss if the quality is grainy or lacking in color.
You’ll want to have great detail in action movies with CGI, and you want the best graphics to view your games. Fortunately, there are some simple and affordable methods to improve the image quality of your TV.
Changing the Resolution
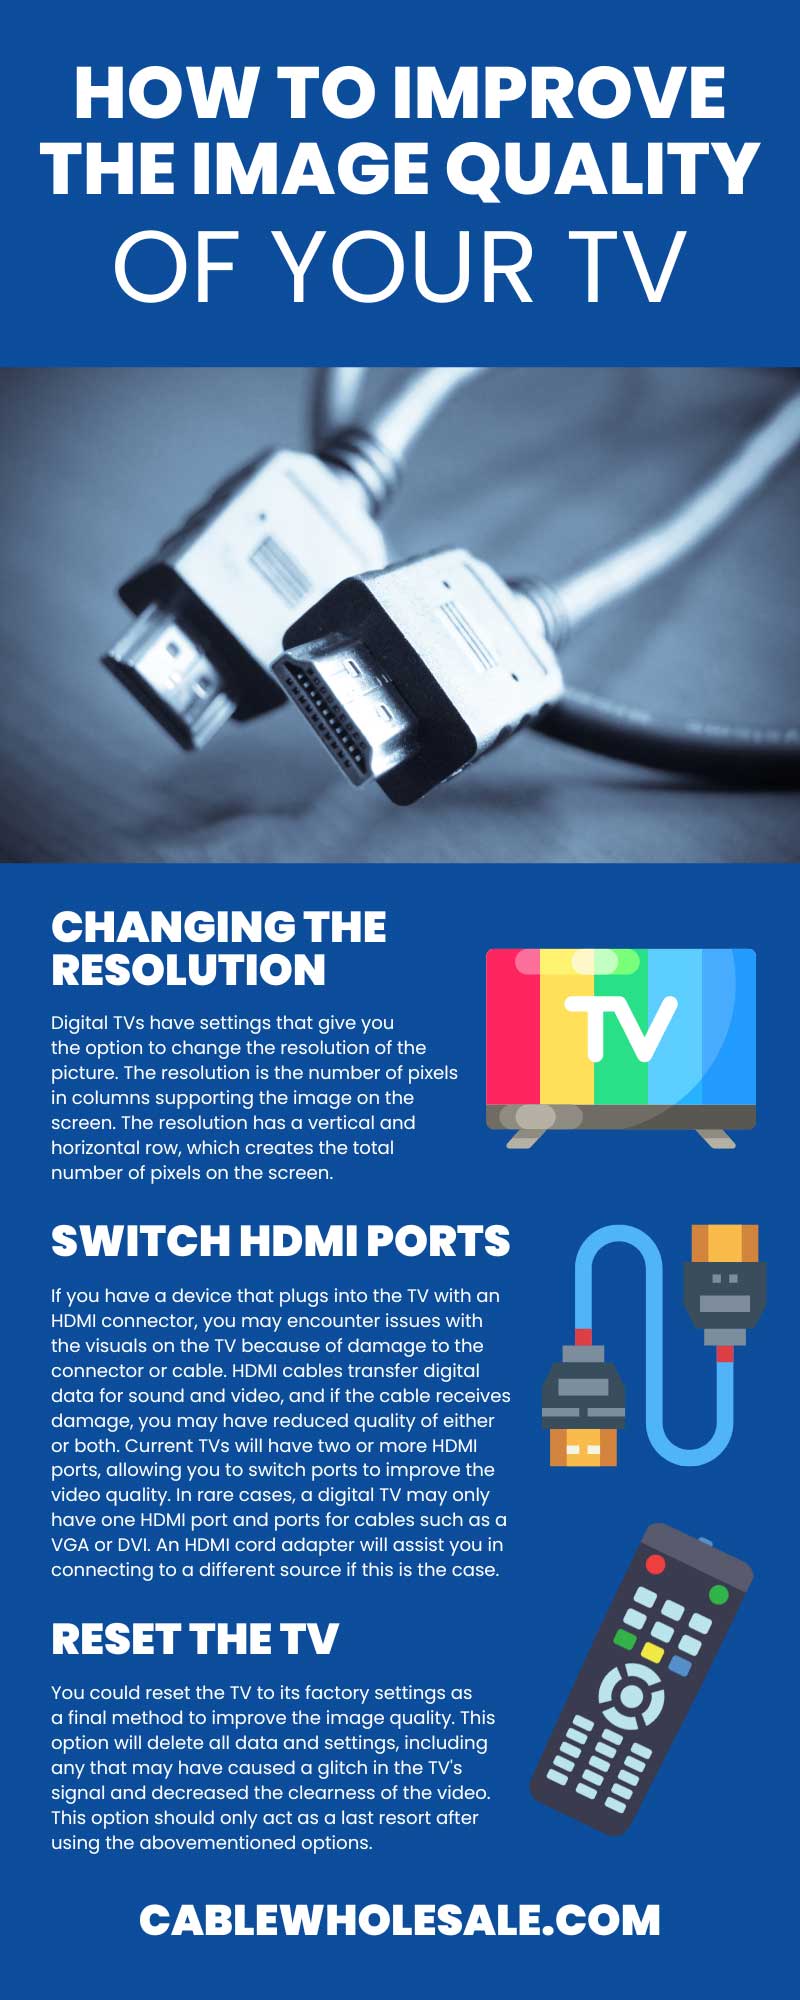
Digital TVs have settings that give you the option to change the resolution of the picture. The resolution is the number of pixels in columns supporting the image on the screen. The resolution has a vertical and horizontal row, which creates the total number of pixels on the screen.
Televisions with 1080p resolution will have 1,920 pixels horizontally and 1,080 pixels vertically, which multiply to total over two million pixels. Larger TV screens will have more pixels and thus have a higher resolution that creates clearer images. These larger TVs will have the option of decreasing their resolution for different formats, such as streaming television or playing video games.
An HD TV will have an option in its settings to decrease the resolution to 1080p or 720p to fit the resolution of a streaming app that will only support a resolution lower than the TV’s maximum. This change in resolution may help you have a clear image that fits the capabilities of the action you wish to perform.
Turn On Noise Reduction
While this setting will apply mostly to noise, it will also improve the image quality of the TV. Your TV will produce audio and video signals that may cause a contrast in the background colors and the main image.
Some images may appear more prominent in certain areas of the object of focus because of the heightened amount of sound in that image, called block noise. In a moving video, these images may appear to have moving pixels that resemble mosquitoes following the image, which is called “mosquito noise.” The noise reduction setting will reduce the mosquito and block noise, so neither overtakes the other, allowing the image quality on the screen to remain balanced.
Balance the Blue Light Filter
The importance of protecting the eyes from blue light’s harmful effects is more prominent in the present. LED screens of phones and TVs produce a bright blue light that damages the retinas over time.
Newer technology now offers the option to turn down this blue light and give the screen a mild orange tinge that feels less intense on the eyes. But this blue light filter may affect the images on the screen, and it’s important to balance it for clear images.
The filter must remain high enough to protect the eyes from worsening damage from the blue light, but there needs to be enough blue light to make the image bright and colorful. This balance will depend on your level of sensitivity and the condition of your vision; once you find the right balance, you’ll have an easier time viewing details on the screen.
Adjust Motion Smoothing
Another setting on TVs is motion smoothing, which allows the moving images on the screen to appear more fluid. The frame rate of your TV will make images move smoothly at various levels. Some TVs may lack the frame rate to support certain shows or movies that require a higher frame rate.
Motion smoothing generates frames between the frames projected from the digital signal to make the moving images move with greater fluidity and an almost lifelike appearance. This improved frame rate will make viewing your TV a greater experience without the clunky motion it had before.
Check Your Settings When Using Apps
The TV isn’t always the problem; sometimes, applications have certain settings that cause your TV to muddle the image on the screen. Streaming apps will have settings for resolution and brightness just like a TV, and you need to ensure that the app’s settings match the TV’s for improved video. These settings are adjustable through the app, and you may change them permanently.
Remove Sources of Interference
Interference is a common problem for many devices and may affect your TV’s image quality. The signal that the TV projects may experience interference from sources that emit radio waves, such as a baby monitor or AM radio.
If your television connects to the internet, there may be traffic from the other devices that use the wireless connection and need to disconnect to strengthen the signal. Keeping the TV isolated in a corner where you will still see it will keep it away from interfering signals.
Switch HDMI Ports
If you have a device that plugs into the TV with an HDMI connector, you may encounter issues with the visuals on the TV because of damage to the connector or cable. HDMI cables transfer digital data for sound and video, and if the cable receives damage, you may have reduced quality of either or both. Current TVs will have two or more HDMI ports, allowing you to switch ports to improve the video quality. In rare cases, a digital TV may only have one HDMI port and ports for cables such as a VGA or DVI. An HDMI cord adapter will assist you in connecting to a different source if this is the case.
Reset the TV
You could reset the TV to its factory settings as a final method to improve the image quality. This option will delete all data and settings, including any that may have caused a glitch in the TV’s signal and decreased the clearness of the video. This option should only act as a last resort after using the abovementioned options.
The visuals of a TV are important and should remain of good quality. These ways will help you improve that quality so you will have a better viewing experience with anything you put on your screen.